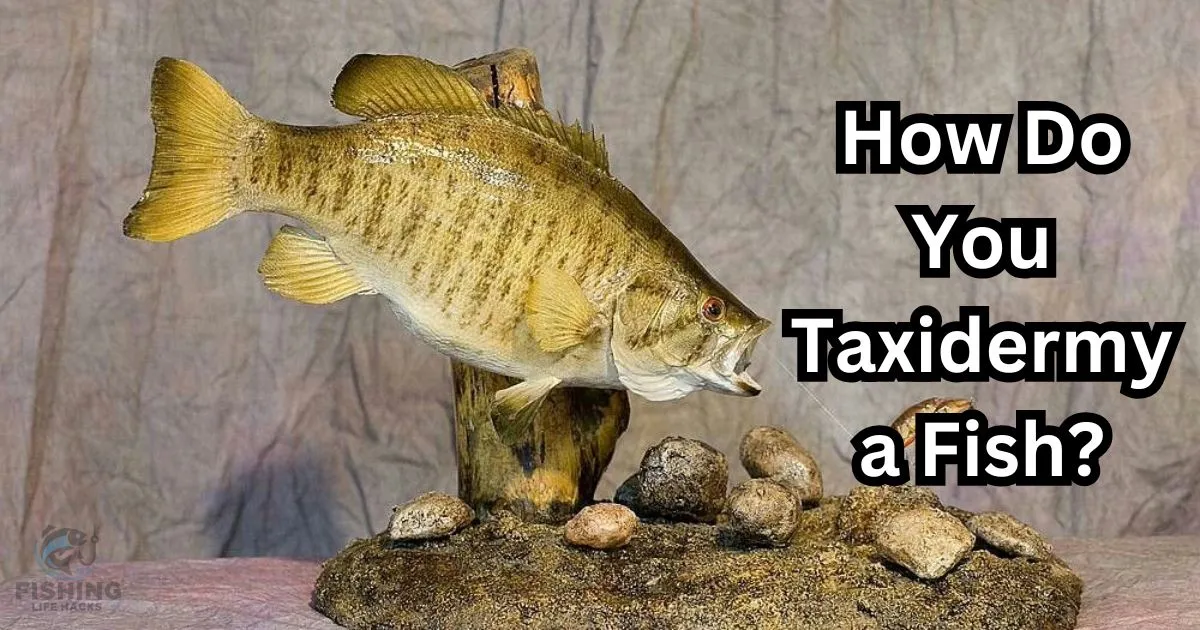
How Do You Taxidermy a Fish: Step-by-Step Guide

Taxidermy is an intriguing process which allows you to keep your catch of the day to display. While it can be intimidating, it’s possible with the right tools and a steady hand, as well as a meticulous execution. This guide will show you how to taxidermy fish, making sure that you get stunning, authentically-created displays.
Steps to Taxidermy a Fish
1. Preparing the Fish
The taxidermy process starts shortly after you have caught your fish. The timing is crucial because the skin of the fish is deteriorating quickly. Photograph the fish while it’s alive, to preserve the original colors, that will loated tea recipe you later on when painting. If you’re not ready begin taxidermy right away then wrap your fish with a damp towel and then freeze in a freezer with its “show side” facing up.
Before beginning, you should make measurements of the length, girth, and length of the fish as well as other unique characteristics. This allows you to replicate the size and shape while the process of mounting.
2. Skinning the Fish
Once you’re ready to begin, the next step is to skin the fish carefully. Make an incision along the lateral line of the fish on the side opposite the one you want to display. Use a sharp scalpel to peel off the skin, being mindful not to damage it. Remove all internal organs and bones from the fish, ensuring you clean the inside thoroughly to prevent decay.
Pro tip: Avoid letting the fish flop around on a dry surface, as this can damage the skin.
3. Preserving the Skin
After skinning the fish, preservation is key. Inject embalming fluid (such as ethanol or glycol ether) into the head and tail areas, focusing on areas most prone to decay. You can also use borax powder to prevent bacterial growth.
Drying is an essential part of the process. Let the skin air-dry for weeks or months, depending on the species, to ensure it retains its shape. Silica gel or other desiccants can speed up the drying process.
4. Stuffing the Fish
After the skin is prepared and the skin is stuffed, you can begin to stuff the fish. The accurate options are sawdust, styrofoam or polyurethane foam that is shaped to fit the outline of the fish. It gives fish a real-life appearance. To create a unique appearance, you can use fiberglass resin to fill in any holes or hollows particularly in cheeks and the body.
5. Sewing and Positioning
After filling, stitch the skin back to the line of incision. This is usually done using strong thread or twine. Although the fish is malleable, it is possible to shape it into a realistic shape with wires or pins to ensure that the fins are in the right position.
6. Adding the Final Touches
The next step is to add the eyes made of glass. Make use of resin to secure the eyes. Select the size that is appropriate to the size of your fish. After that, it’s time to start painting. While there will be some natural colors however, you’ll likely have to re-paint the fish in order to revive its vibrant hues. Paint with airbrush or specially designed taxidermy paints for fish to recreate intricate patterns and shades.
After painting then apply a clear finish, such as lacquer, to keep the color giving the fish natural, glossy appearance.
7. Displaying the Mount
After your fish has been fully preserved, think about what you would like to present the fish. Mounts for fish can be set on a wood backing or inside a display case to keep them safe from moisture and dust. Make sure that it is securely attached to the back together screws or glue.
Frequently Asked Questions
Conclusion
Taxidermy is a craft that requires a lot of patience and focus on the finer points, but it’s also rewarding and can keep your catch for long time to be. Following these steps it will be possible to make a realistic mount that reflects the beautiful beauty and beauty of the fish.


